Top 5 Damaging Tech Pack Mistakes for Clothing Brands
Time to read: 8 minutes
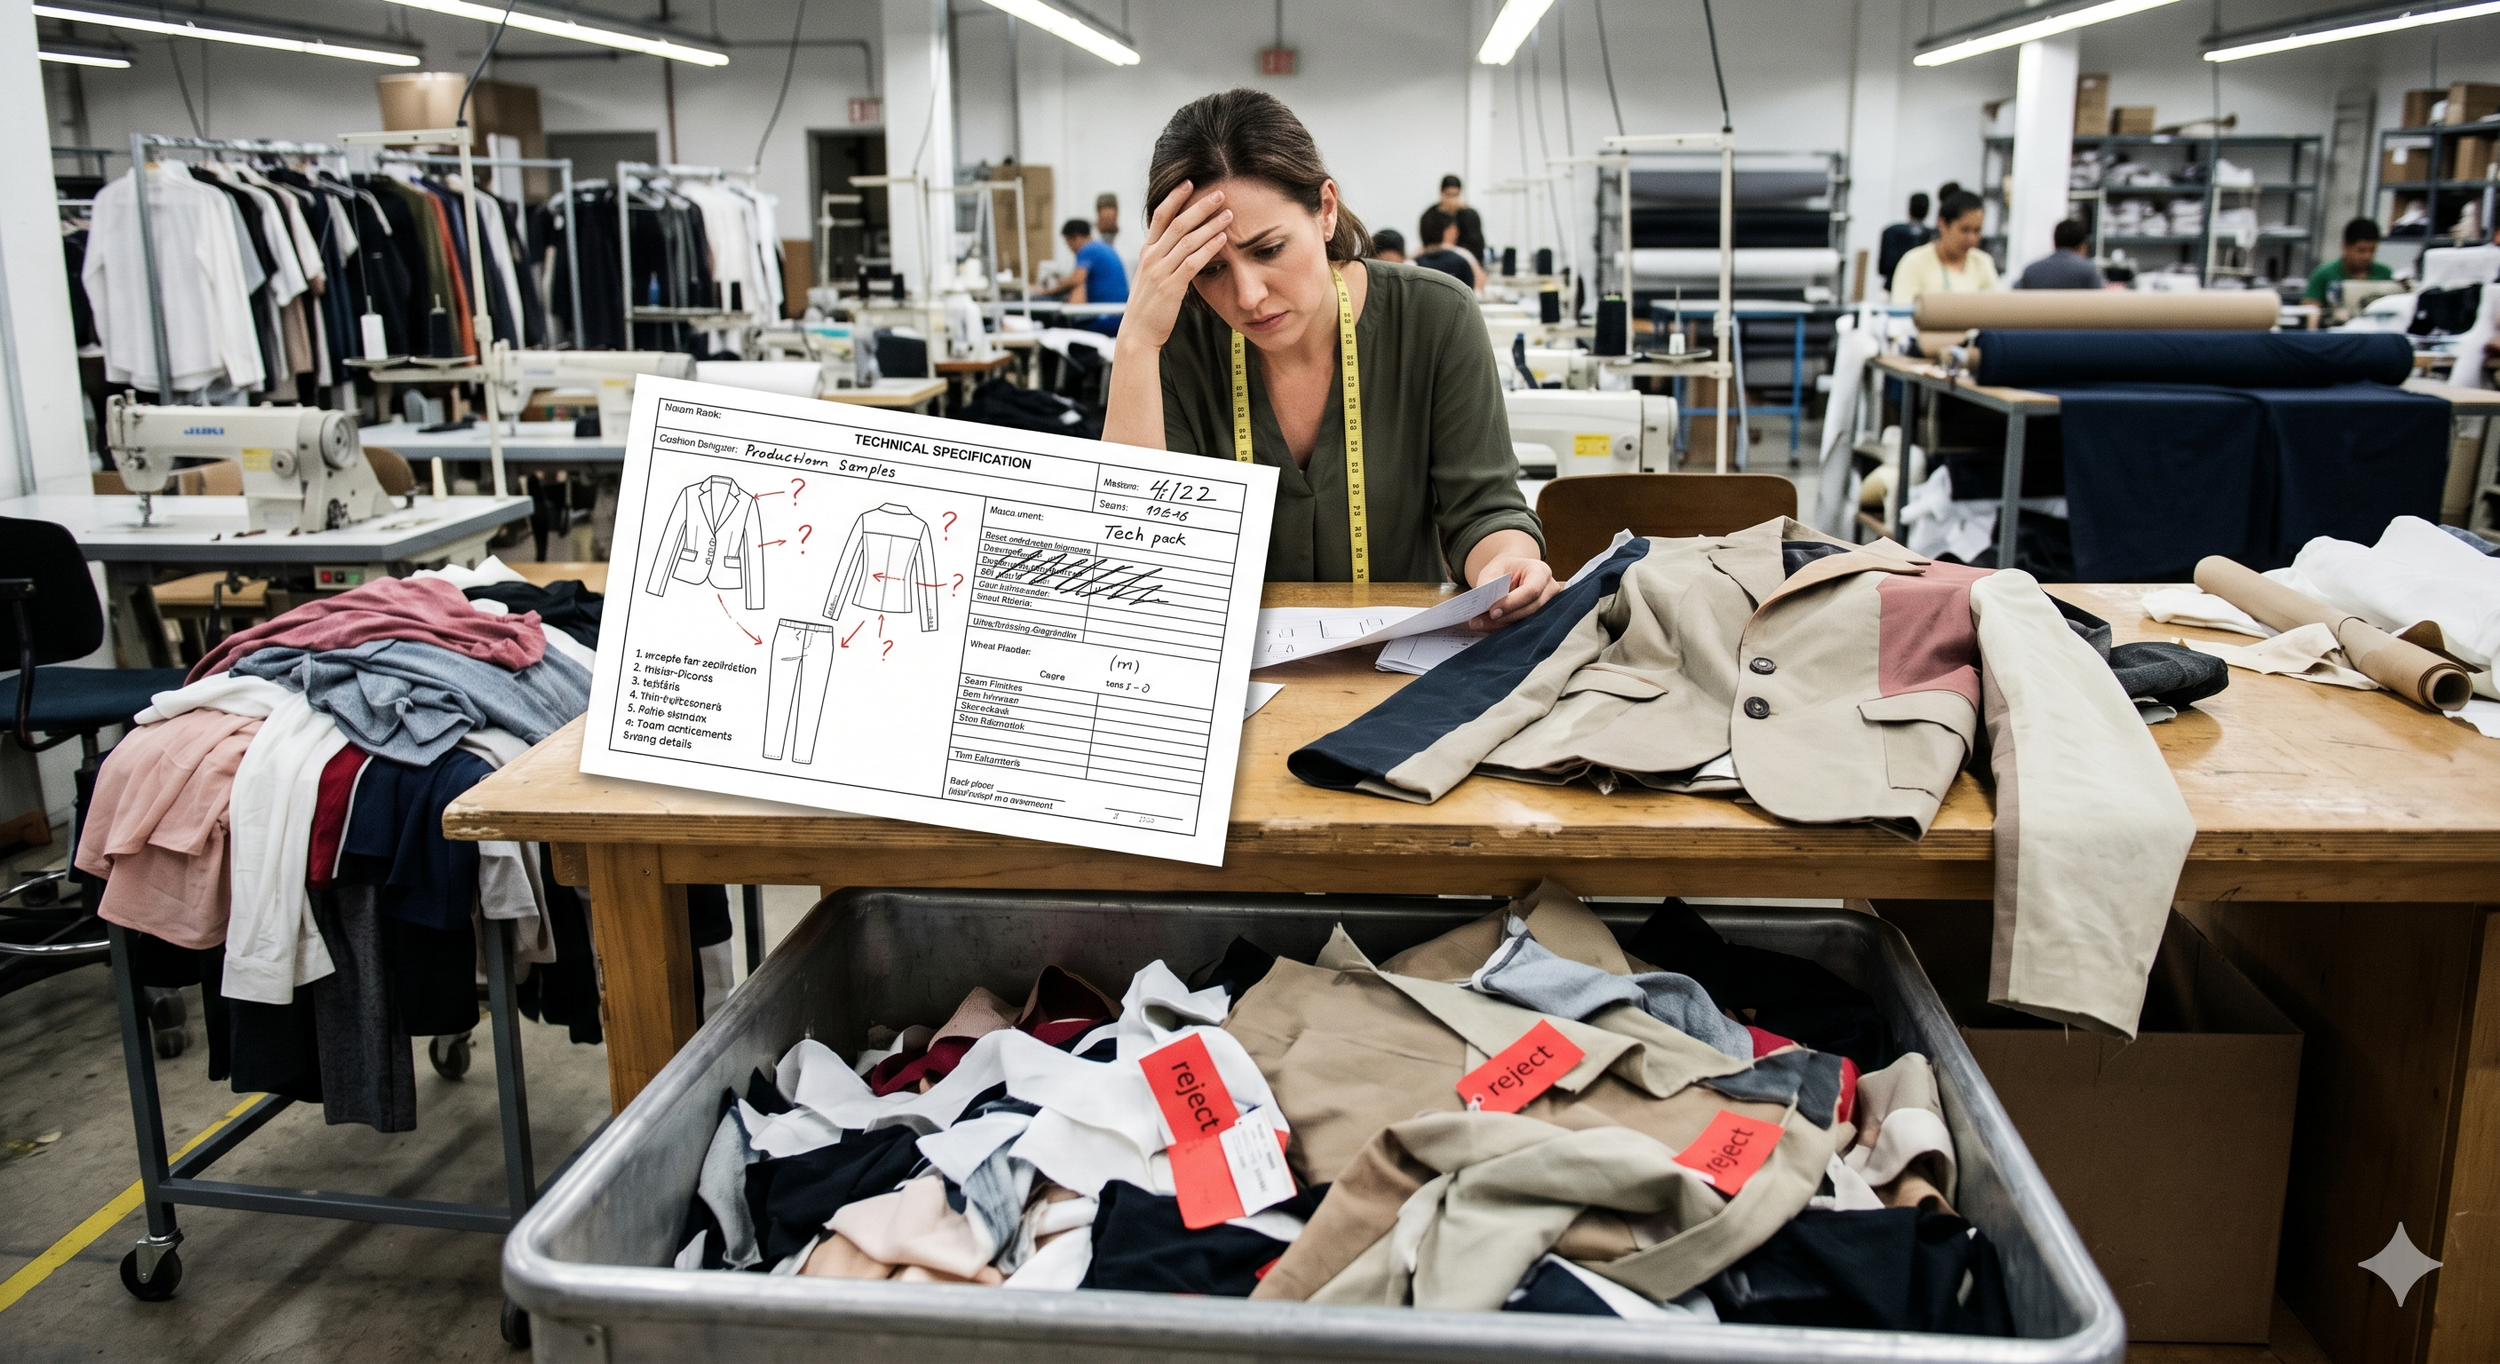
I’ve seen lots of tech packs over the years, some more detailed than others. I often get clients who already have tech packs - but haven’t been getting great results from them! Here are the details that are missing, time and time again.
A tech pack has to include ALL the details that are relevant to your product, not just most. Most isn’t good enough! If you want to get quality samples made and you don’t want any surprises in production... you’ll need your tech pack to be thorough and accurate.
1. Construction
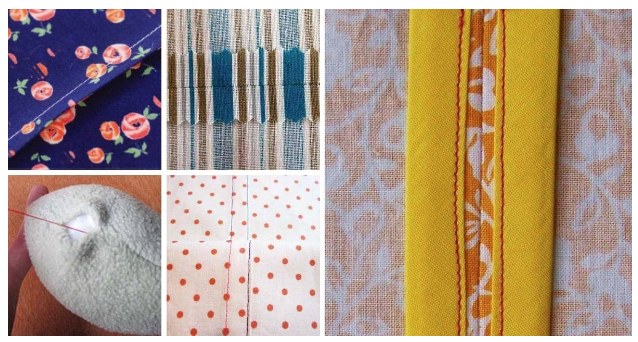
This is huge and something I see often. You *have to* include construction information in your tech pack. Unless you’d prefer the factory to guess how you want the design constructed?
Every join in your product/design has to be constructed somehow. What stitch is suitable and which seam type would be the best? You’ll need to specify! Stitch widths, stitches per inch and seam allowances are also important here.
Go through your design and write down the construction for each join/seam in your design. Lay out all the info in a clear and easy to read table.
Don’t forget to add visuals. Diagrams are the lifeblood of a tech pack, they can’t get lost in translation. Number or letter each row in your construction table. Then create a diagram with your flat sketch in the center. Use labeled arrows to show where each number/letter designation is on your sketch.
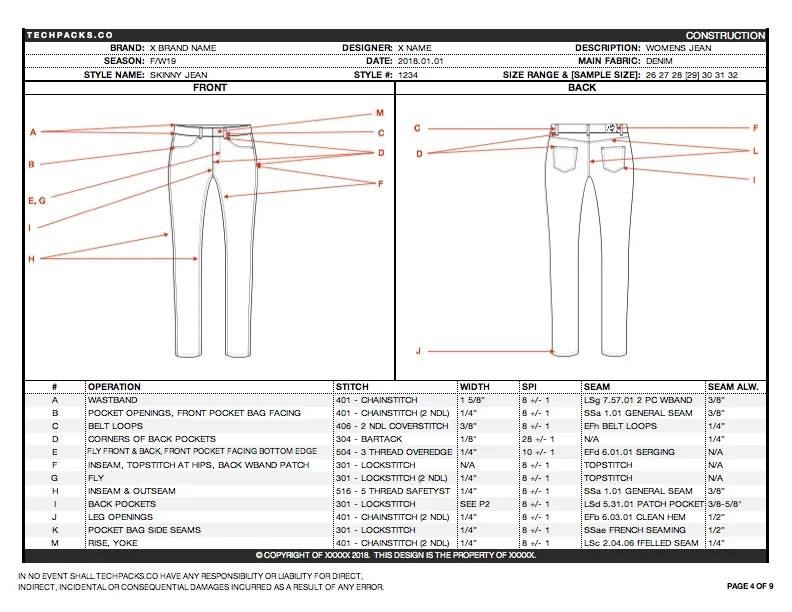
An example construction page
2. Specs
This is the most important section in the tech pack. The #1 reason why people buy or don’t (ok, after the styling) is the fit. The measurements in the tech pack have to be correct if you want your product to fit, it’s basic stuff!
Start by creating a table. 1st column is for a number/letter designation. 2nd column is for the description of the measurement (aka point of measurement or POM). Next columns should be headed with each of the sizes in your size range.
Now you have a size chart you can fill in. If you want to just work on getting your fit sample right first... you can fill in the measurements for your sample size only and leave the other sizes blank for now.

An example spec page
3. Tolerances
The size chart you’ve just created brings me neatly into my next point…tolerances. The manufacturing of clothing is done by humans. Humans using manual machinery. Until robots take over the world, we have to accept a little margin of error on our products.
Leaving this small margin of error undefined = a small margin becoming an infinitely large margin... depending on how badly wrong the product turns out. Not a situation you want to be in!
So it's SUPER important that each measurement in your specs (each POM) has its own tolerance. So the last column in your tech pack should be called "tolerance." For each POM, you would specify in inches or cm the accepted tolerance. e.g., 1/2” or 0.5 cm.
The tolerance allowed depends on the length of the measurement in the spec. So a longer measurement would have a bigger tolerance. A shorter measurement would have a smaller tolerance.
Don’t forget your tolerances, people! Your factory won’t be able to produce a quality production run if you don’t have these. See the example spec page above for a visual.
4. Point of Measurement Diagrams
A visual representation of your measurements is ideal. Again, don’t let things get lost in translation; draw it out so it can be understood by anyone.
Start with your flat sketch. If you’re using a vector drawing program, create a 2nd layer called "POM." Now add an arrow on top of the flat sketch for each POM. Each arrow should be labeled. Use the number/letter designation from the first column in your size chart.
It’s really important to keep the drawing accurate and to scale. What do I mean by ‘to scale’? If someone who doesn’t speak English is looking at your digram... can they look at the sketch and see exactly what measurement goes where? Can they *see* the measurement without reading the POM description?
Don’t fall into the trap of quickly creating a diagram that isn’t accurate. Imagine somebody in a factory looking at your measurement description & then your digram. If they don’t match up, you’ll be causing confusion, wasting the factory's time and delaying your order.
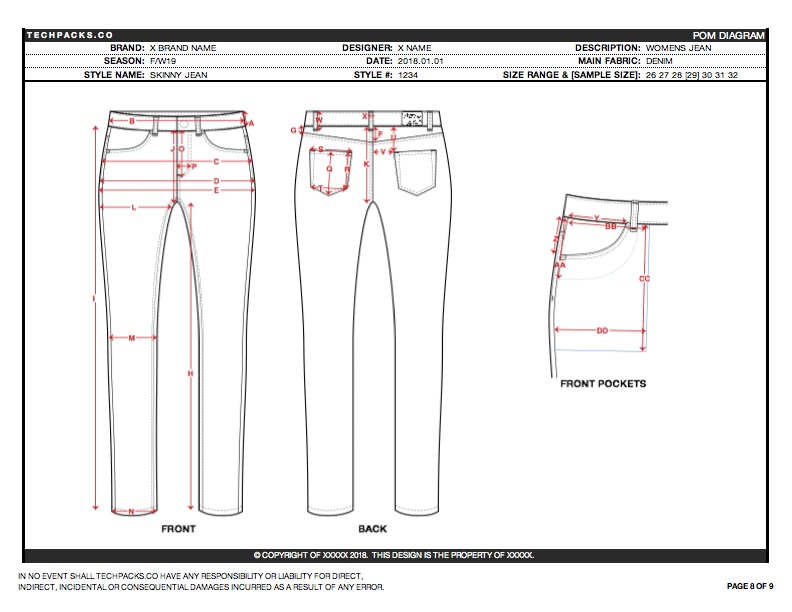
An example POM digram
5. Tracking changes & samples
When receiving a sample back from a factory, you’re going to want to check it against the tech pack. Never just assume it’s been made as specified in the tech pack; that’s just lazy! You’ll need to check that the measurements are all within tolerance. Go through the other pages in the tech pack and check your samples against each one.
Now this is where a comments form comes in. This can be added to the last page of your tech pack and tracks the latest sample you’ve received from your factory. Each new sample gets a new page in the tech pack, keeping things organized and crystal clear.
You are likely to want to track changes and develop your sample/design too. It’s standard industry practice to make tweaks to the measurements once you have a first sample back. Once you’ve established which measurements are/are not within tolerance... You can reassess the specs. If you try the sample on/test it in real life, you may want to perfect a couple of measurements here.
If you’re interested in learning more, I’ve written an in-depth post on how to use a comments form here.

An example comments form


Author Bio
Tech Packs Co founder Belinda is a technical fashion designer from London, now based in Los Angeles. Belinda had her first job in fashion at the age of 15, fixing swatch cards together. Since then, Belinda has been designing & creating tech packs for more than a decade... for household name brands and independent designers alike.