Production Checklist for Apparel Design & Development
Time to read: 16 minutes

Cottonbro, Pexels
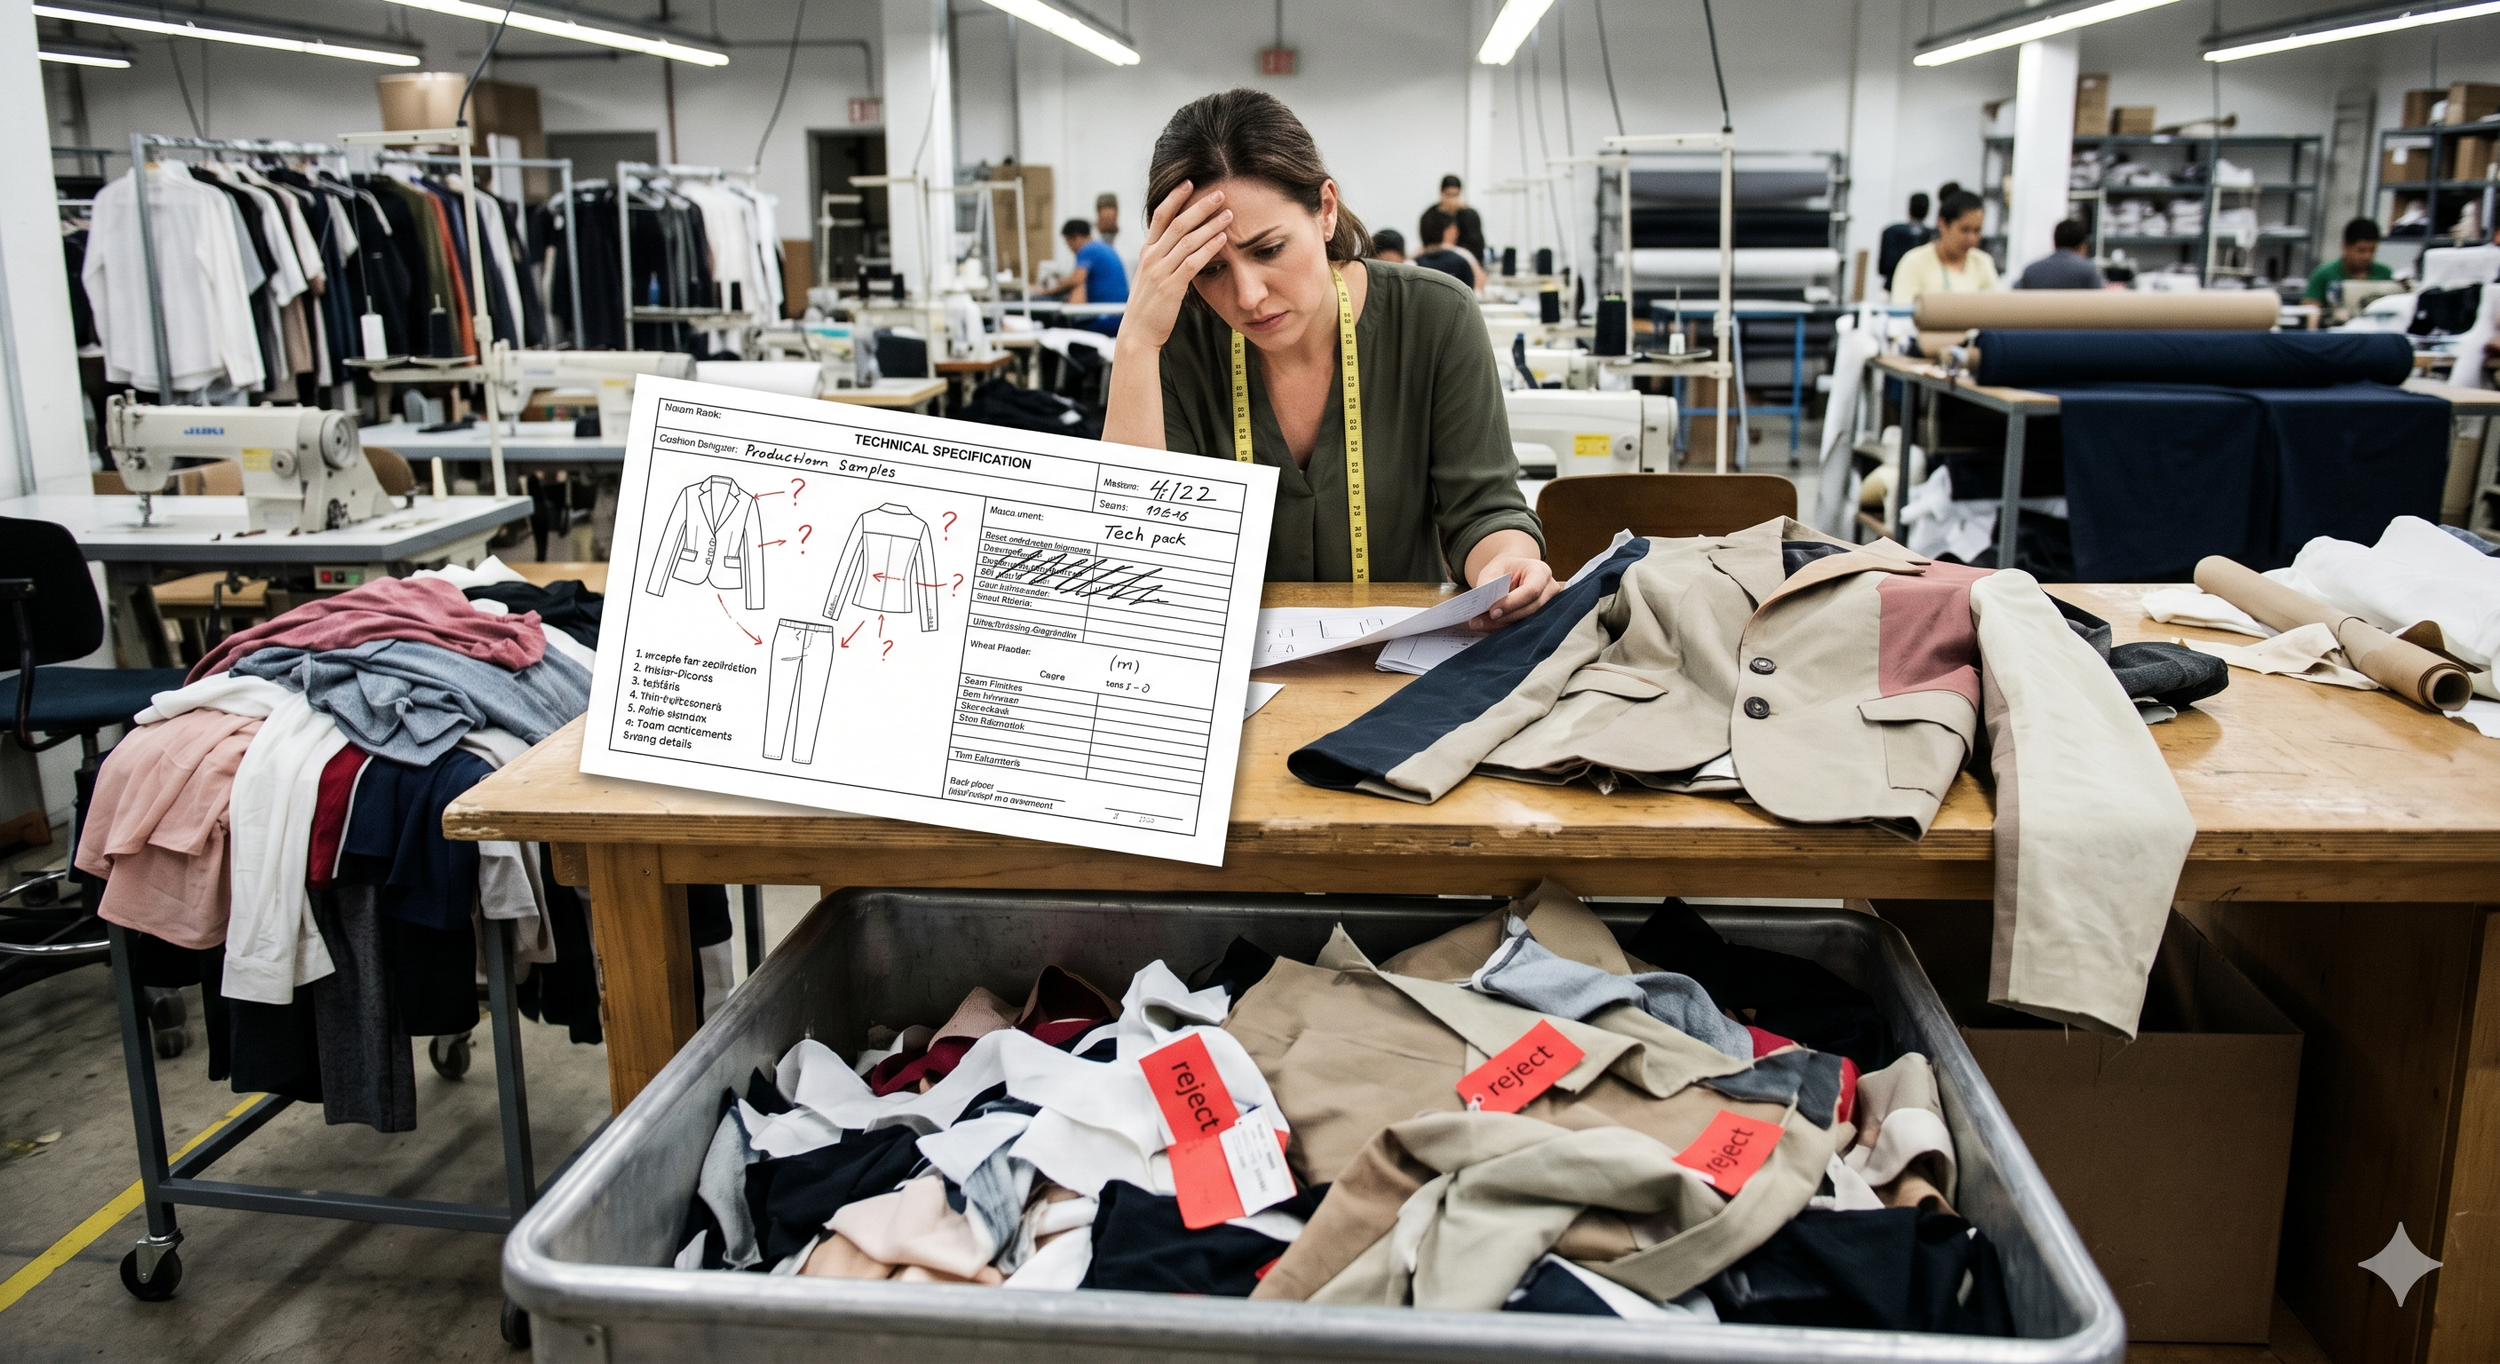
Navigating the apparel development process can feel overwhelming without a clear roadmap. From initial tech packs to pre-production samples, following a structured manufacturing checklist ensures your designs transition smoothly from concept to bulk production without costly delays.
The process behind apparel design and development is as laborious as you might imagine. At the same time, it’s important to be meticulous from the earliest stages and avoid wasting valuable resources.
By giving each checkpoint the time and consideration it deserves, not only will you see your ideas come to fruition quicker, but you will also work more consciously from an ecological standpoint. Furthermore, you will show your appreciation to each individual who helped bring your design vision to life.
If you need an article to refer to whenever you start working in apparel product development, we've got you covered! Read on and remember to bookmark it for later use.
Your Production Checklist for Apparel Product Development

Olya Kobruseva, Pexels
Assuming you have your design and concept figured out, now is the time to follow the practical steps to translate your vision into a tangible product.
Every time you want to start a new project, use this checklist to make sure you know what your team needs to put together, as well as what you require from your factory.
Essential Stages in the Apparel Development Timeline
1. Your First Clothing Prototype
The first clothing prototype is a scale-built mock-up that serves as a general indication of how your piece is going to look and how it will fit your potential customer. It doesn’t need to be flawless because you or your technical designer will build on it as you work on the actual product.
Making a clothing prototype is a fundamental step to getting you started on your tech pack and fine-tuning your design. It is required for every type of garment, not just for new inventions like a jacket made of vegan leather or a coat that turns into a sleeping bag—both of which are quite interesting.
2. Building a Tech Pack
Your apparel tech pack is your most valuable asset in pre-production (PP). It is the blueprint of your product, containing all the technical documentation for your clothing. From flat sketches and material specifications to written instructions, it should include all the nuts and bolts (figuratively speaking) that your factory needs in order to create your product accurately.
Creating a tech pack from scratch is one of the most labor-intensive steps in pre-production. But once you have some hands-on experience with it, creating your subsequent designs will be simpler.
Pro-tip: Never worry about your tech pack being too detailed. The more thorough you are, the better!
3. The Artwork for Your Garment, Label, and Packaging
One of the simplest ways to stand out with your product or collection is by creating a unique print for your clothing, like a repeat print or a placement print.
You'll need to give your factory the image files for each type of print design when it comes time for production later on. The best files to use are vectors because they maintain their quality when scaled up (they work based on formulas instead of pixels). The ideal software for making such designs is Adobe Illustrator, which is also perfect for creating your tech pack CAD files.
Additionally, the brand name, logo, and other relevant information like size and materials should be included in the label artwork.
4. Lab Dips, Strike-Offs, and Trim Swatches
To make sure your final product has the print size and fabric color that you envisioned, you should ask your factory for the following essential fabric samples:
Lab dips. A lab dip is a mid-size swatch of fabric that has been dyed to match a specific color standard like Pantone;
Strike-offs. They are samples of printed fabric that are used to test the printing machine for accuracy and color trueness;
Trim swatches. A swatch is a small piece of your actual fabric or trim. For example, if you create a trim for your garment with applied accessories like decorative buttons or chains, you would need to test it and see if it’s comfortable enough to wear.
5. The Clothing Molds and Tooling
You would also need to provide your factory with a physical mold for your product. If your product design incorporates any custom hardware, you’ll need this! It is essentially a hollowed-out block that sets the shape of the product.
An important aspect to mention at this stage is to take precautions to legally protect your molds and tooling. You can find more information in this blog about overseas manufacturing and international IP protection.
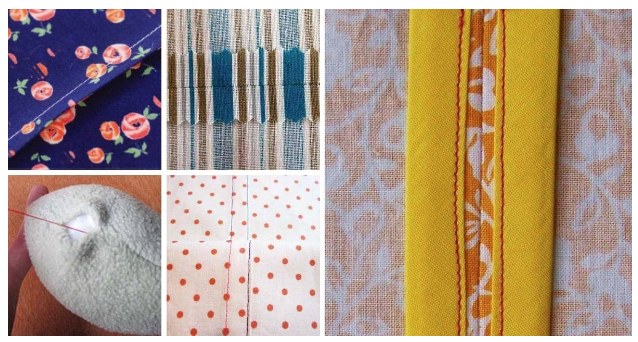
6. The Sewing Patterns

Tima Miroshnichenko, Pexels
A pattern is a template meant to recreate your design. It is usually made up of many pieces—for example, one can represent the front part of a T-shirt while another is for the sleeve.
With the help of the measurements listed in the spec section of your tech pack, a pattern maker can quickly create the patterns.
Although they can be drawn by hand, nowadays it’s more practical for all parties involved in manufacturing to digitize the process.
7. Digital and Physical Clothing Samples
You will come across the following clothing samples during the pre-production phase:
3D digital samples—these are created from digital patterns. Their purpose is to help visualize and refine the product before moving to physical sampling. Check out this video to see an example.
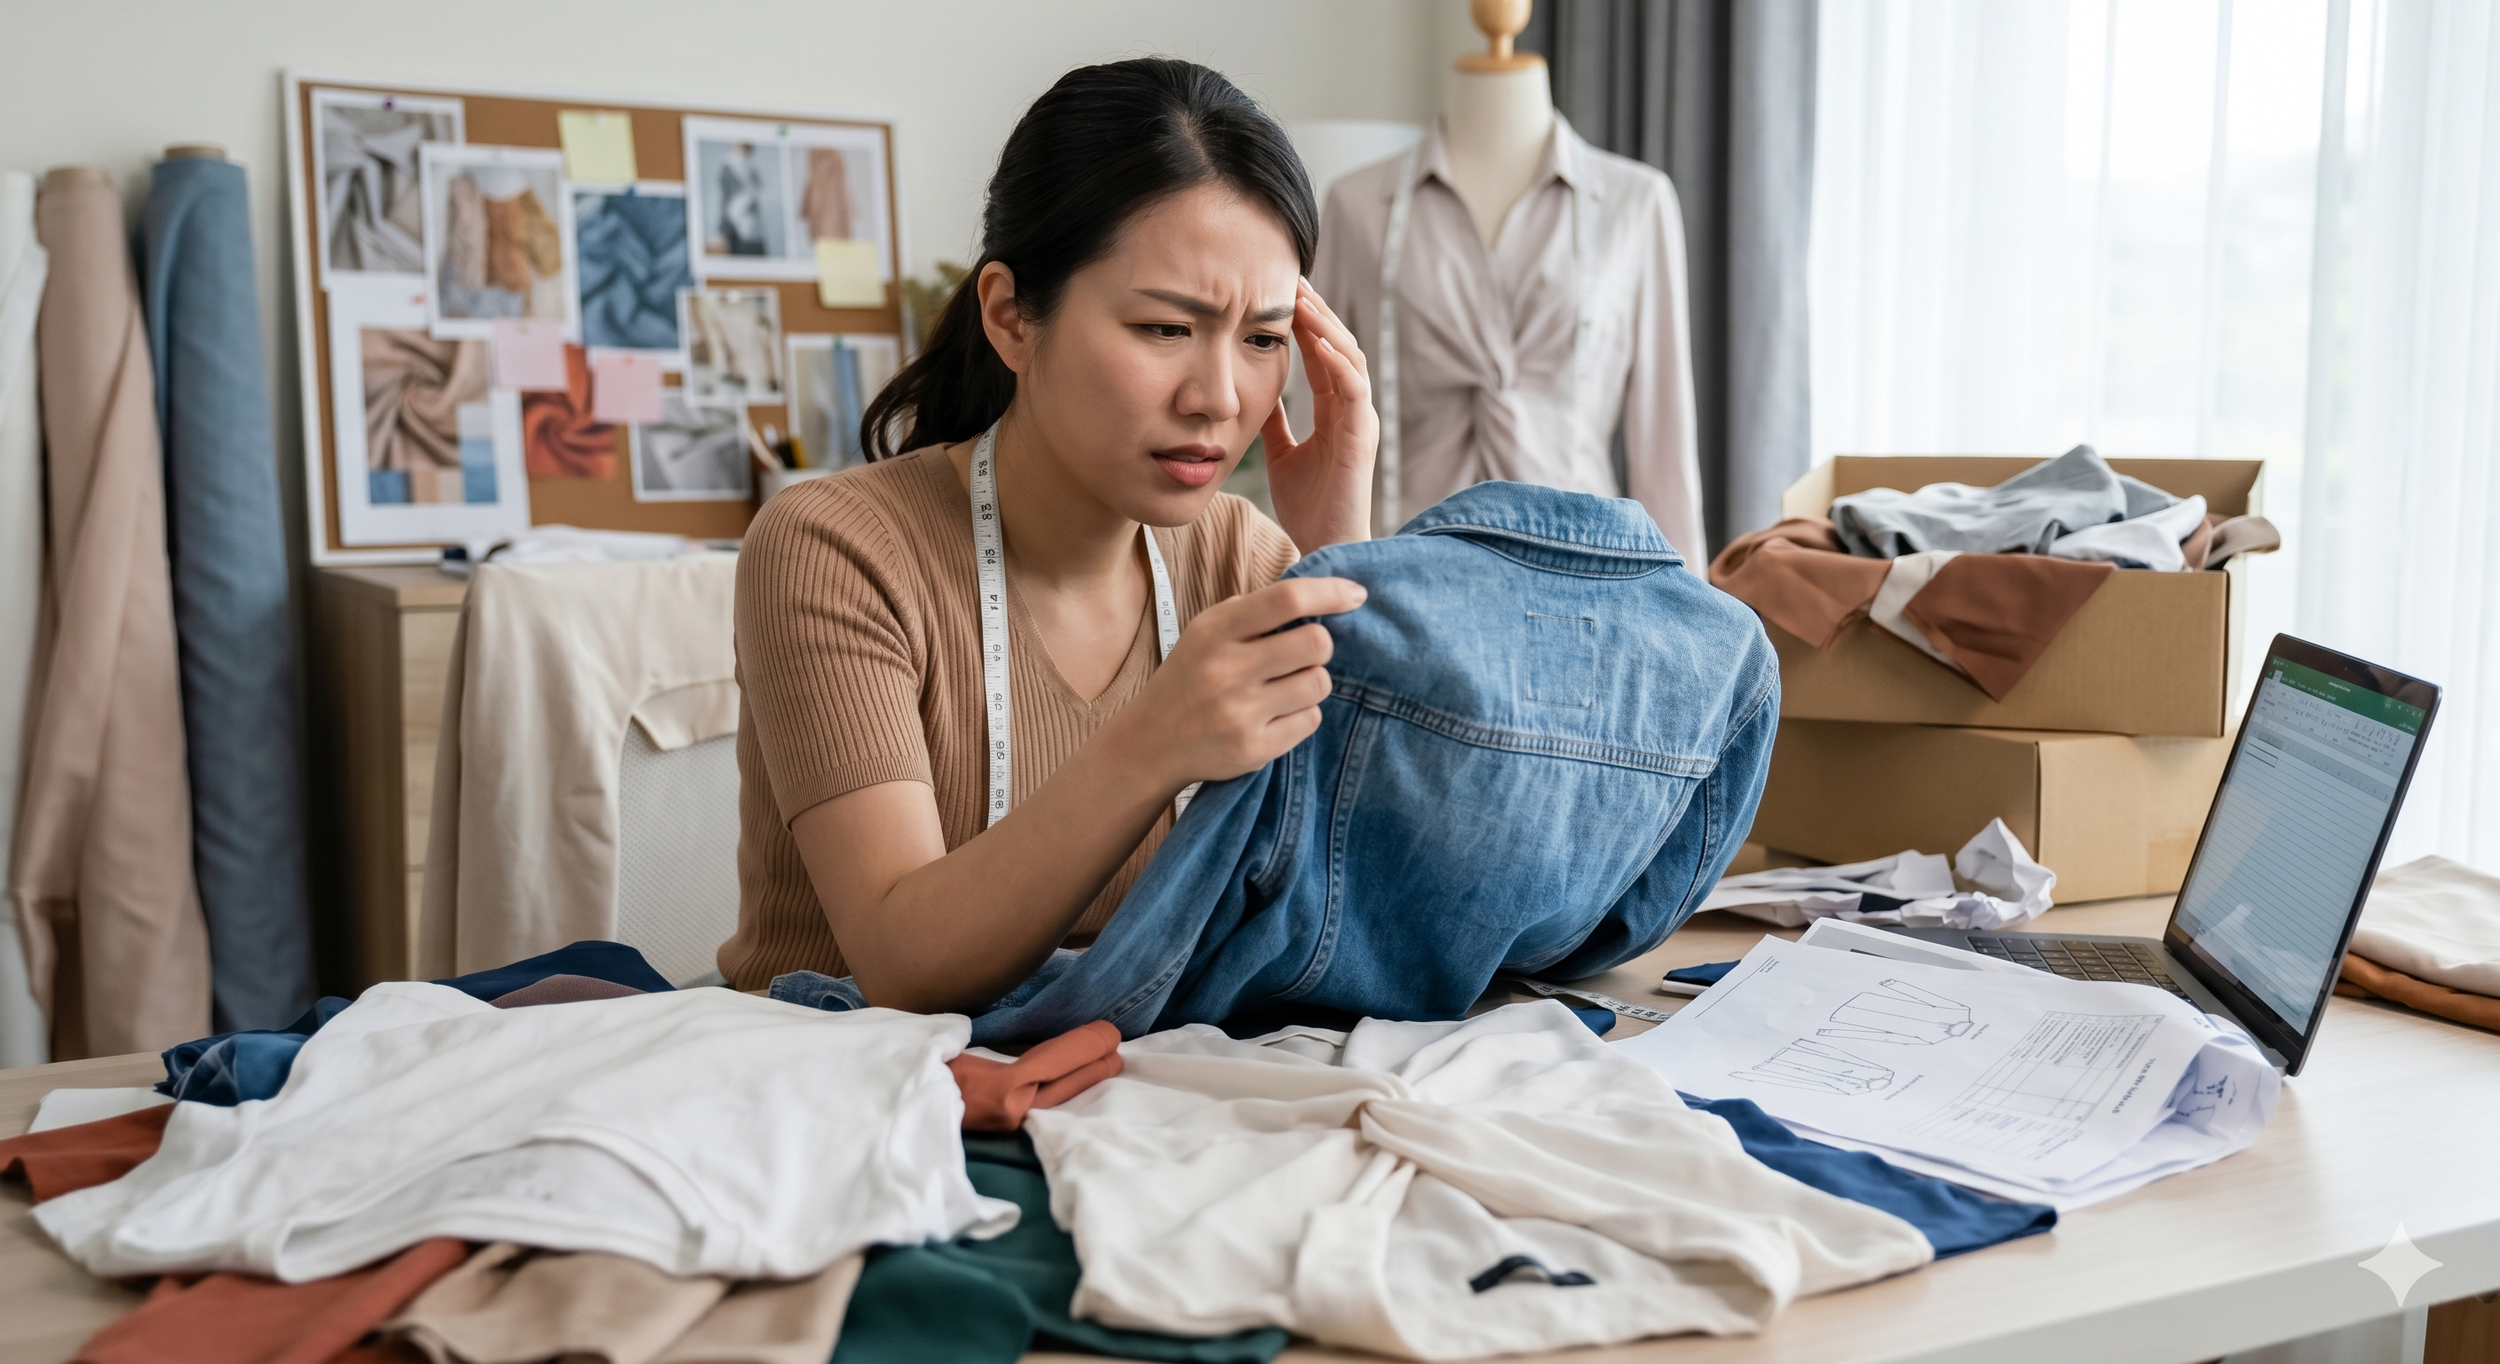
The fit sample—this is a custom-made garment sample that your manufacturer sends you in order to test your design and validate your concept. More specifically, you will use it to test the fit on a live model or just on a form.
It’s extremely important, at some point, for this sample to be made in the exact fabric that will be used for production so that the evaluation is accurate. Often, the first fit sample is made only in a similar but readily available material.
If the fitting is incorrect despite it matching the size spec, you will need to adjust the measurements and send your factory the revised data to create a new fit sample;
The size set sample—your factory will send you a sample for each size that you intend to produce, so you can inspect the accuracy;
The “golden sample,” also known as the pre-production sample—this final development sample is your last opportunity to request alterations before starting production.
The following physical garment samples are required during the production phase:
The clothing sample you will use in photoshoots—this is useful when creating catalogs or eCommerce sites;
The sales sample—this is used to showcase your product to potential buyers. It should include all the correct labels, hang tags, and packaging as well;
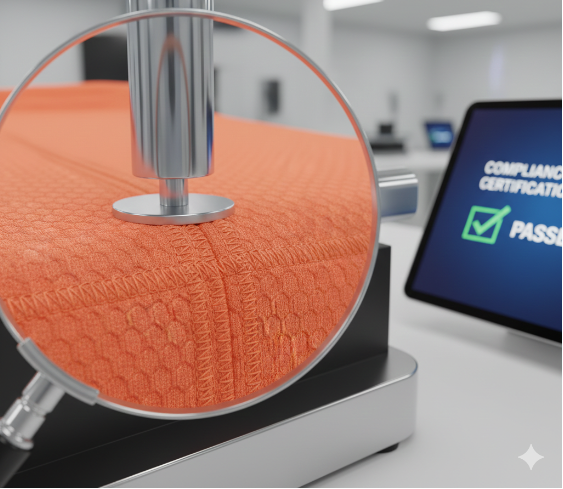
The shipment sample—a few samples are picked randomly from the first production and put through Quality Assurance (QA).
8. The Tracking Sheet for Clothing Sample Approval
You need to create a chart to write down what happens to your samples: when and where they are transported and who handles them. It may seem like bureaucracy, but you'll be glad you have it if something were to happen to them. You can also use this tracker to keep on top of deadlines and make sure you have the finished product ready-made when you need it.
9. Legal Documents and Accountability
It should go without saying that when you outsource a company to create something for you, it is your responsibility to establish the terms of agreement with them and to operate within the law.
The following are the most important documents you need to draft—with the help of an attorney. In our previous article on tech packs, we went into more detail about how they protect your intellectual property:
Manufacturing Contracts (OEM, CM, and ODM)—this is the arrangement between your company (or you as an independent designer) and the factory. It sets the terms under which they will create your product: timing, pricing, and delivery terms.
As a rule of thumb, don’t sign any standard procedure before making sure that it doesn’t endanger your product in any way.
Regarding the accountability issue, an essential document is the Purchase Order. It enlists the goods or services involved in the partnership between you and your factory. It also includes the descriptions, quantities, order breakdowns by size and/or color, and prices.
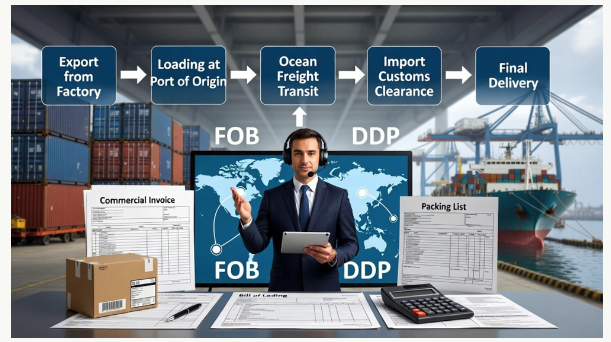
The Production Costs in Apparel Design and Development

Tima Miroshnichenko, Pexels
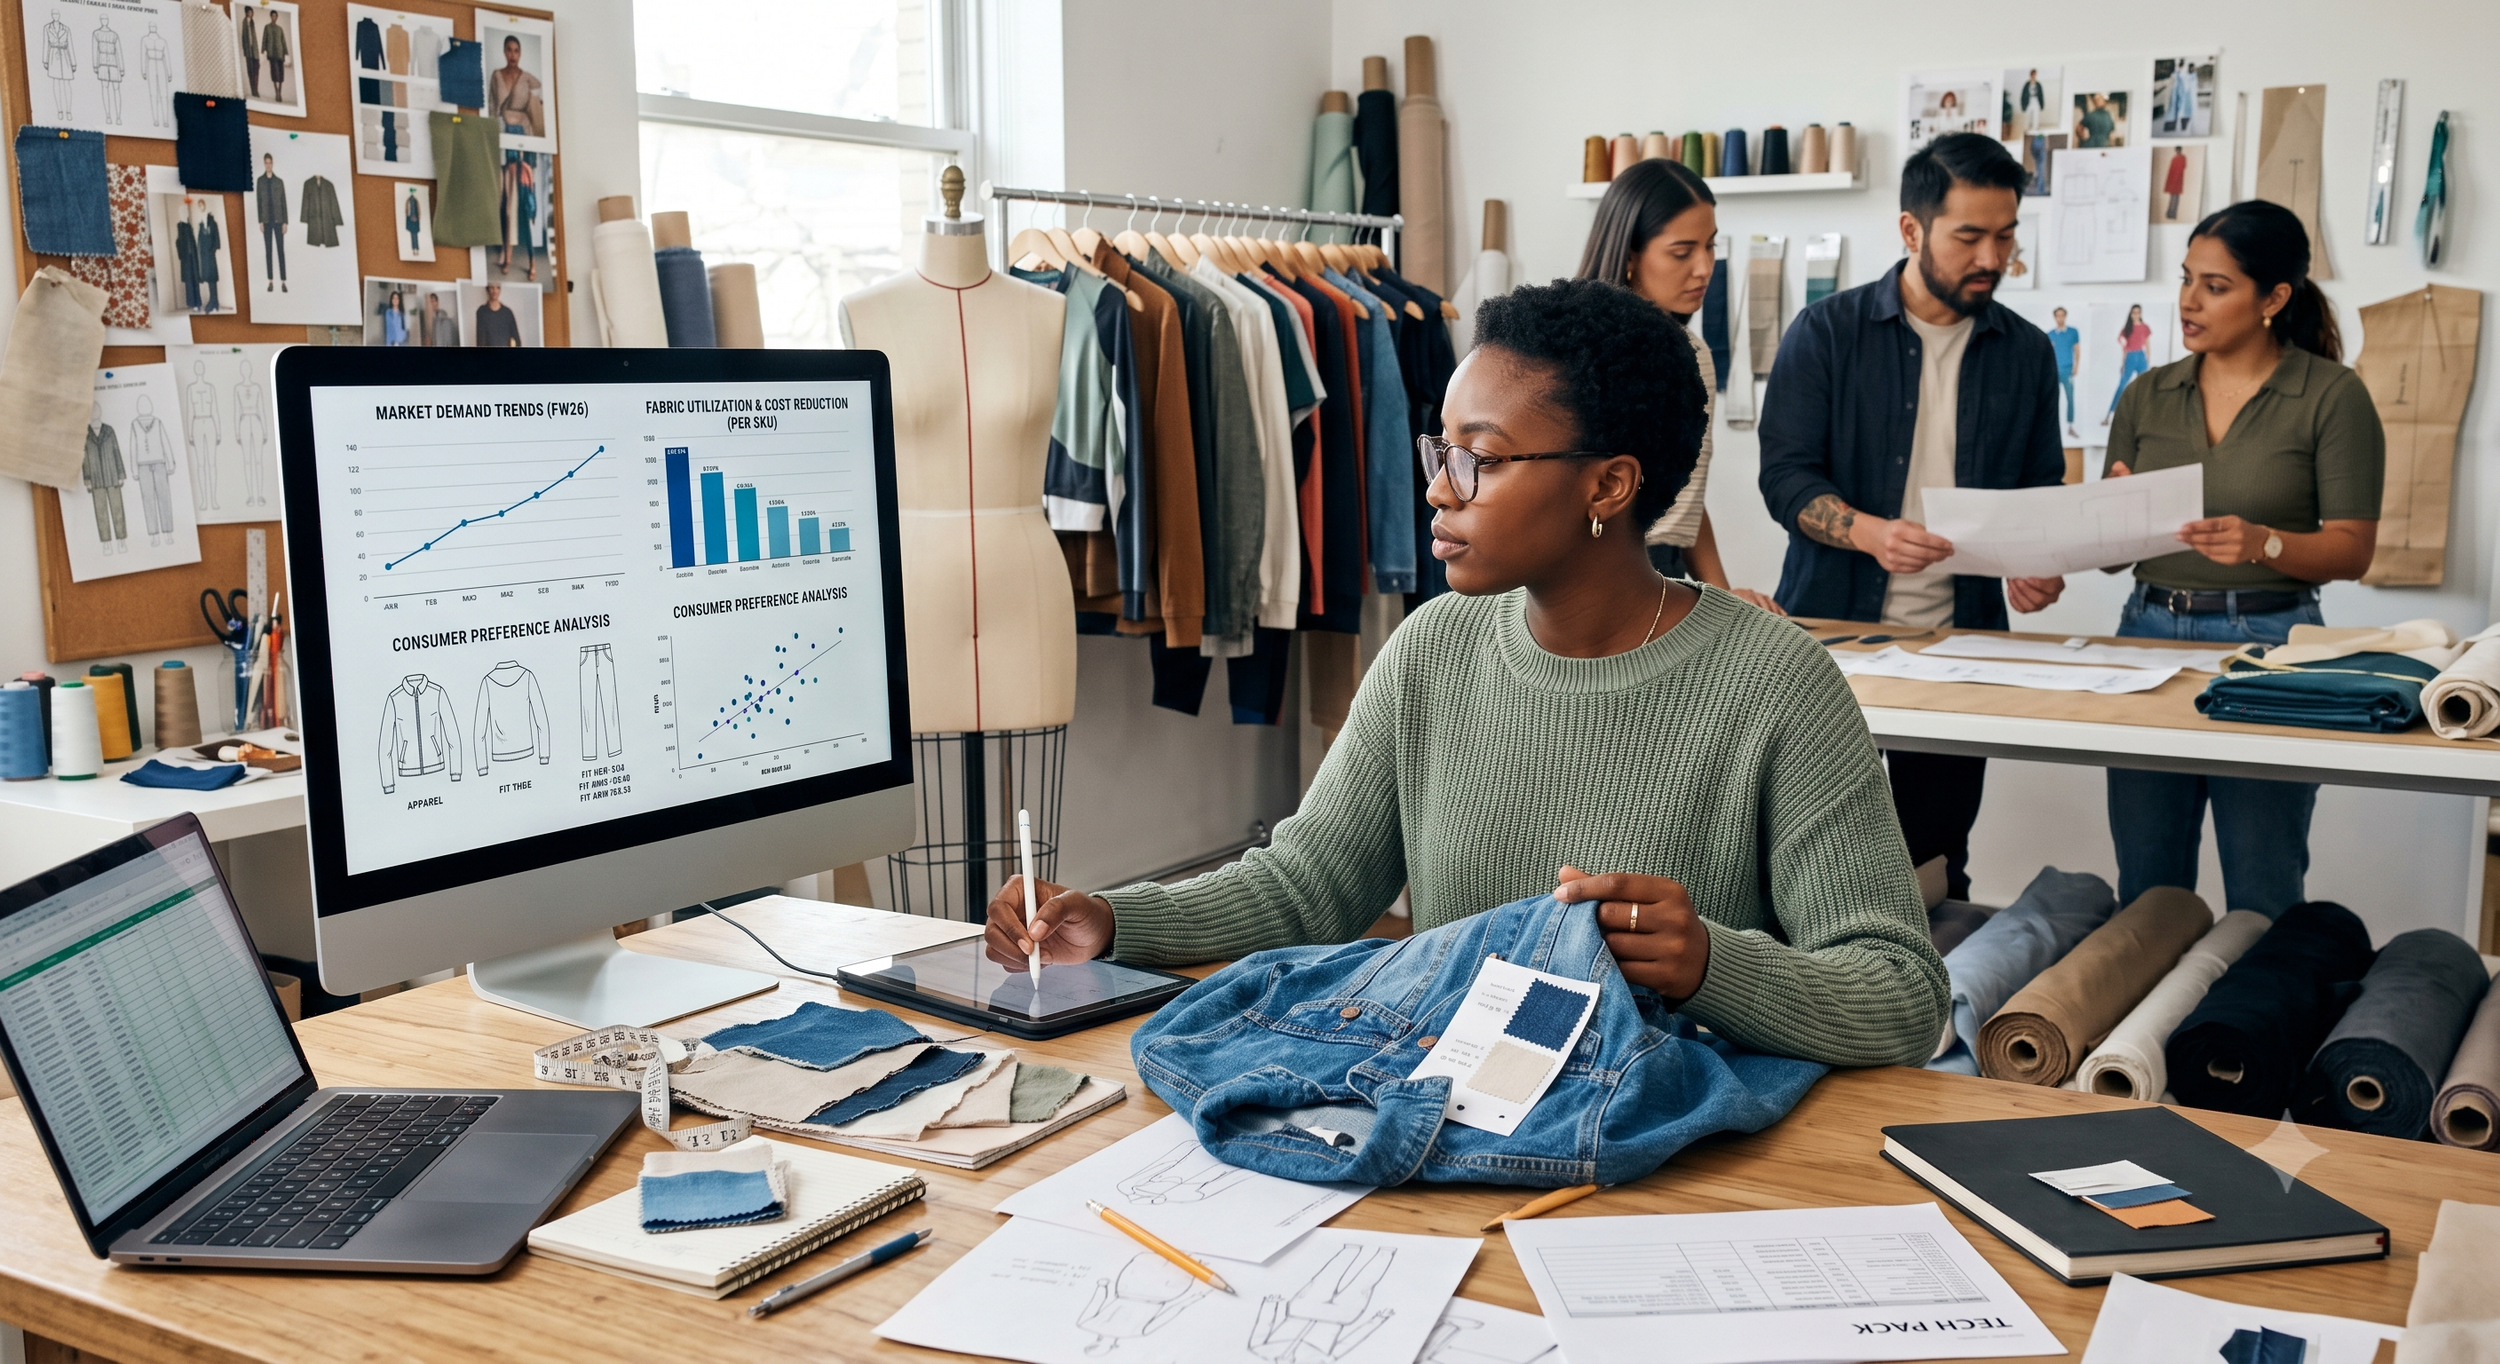
Because each project is unique, there is no quick and easy way to quantify the financial and time investments in apparel product development. However, if you write down and research every step of the process, you can come up with a reasonable estimate — especially if you put together a highly detailed tech pack.
Calculating Your Financial Investment
First of all, you can understand the costs associated with each component of your garment based on the bill of materials (BOM) in your tech pack. The fabrics, the accessories, the thread, and the graphic design for your print are some of the elements that should be taken into account.
What’s more, with the help of your tech pack, your factory will be able to send you a precise evaluation for pre-production. For instance, a first sample can range from 50 to 1000 USD. The reason it can vary so much depends on the customization it requires, the fabrics used, and the order volume. However, if you are a returning customer of that factory, you might not be required to pay for the garment samples.
Whatever your final total budget is, it’s wise to add 10% on top of that to cover any unexpected costs.
Tips on Time Management
Time is another resource that you must wisely manage when it comes to apparel design and development. Making a development calendar with your factory and team is essential if you want to keep track of everything.
All production-related deadlines and reminders should be put on your calendar — some of them are stated in your manufacturing contracts.
Remember to leave some room for shipping delays, sample iterations, and other unforeseen delays.
Get Your Apparel Tech Pack Done with Tech Packs Co

Apparel tech pack example, Tech Packs Co
As a product designer, you have a lot on your plate, from creating your first prototype to launching your final product. We, therefore, hope that this article provides enough insight into the essential stages of apparel design and development so that you can kickstart your fashion project with complete confidence.
If you need other resources, check out our store for templates, workshops, and more. We also offer individualized consultations and coaching on topics related to design and manufacturing.
Last but not least, we can help with the most defining step in your checklist—building your professional tech pack from scratch. We go beyond apparel production and enjoy a good challenge. Our tech pack clients also receive a complimentary production planner, fully personalized to meet their development needs. To find out more, book a call now for a no-obligation consultation!


Author Bio
Tech Packs Co founder Belinda is a technical fashion designer from London, now based in Los Angeles. Belinda had her first job in fashion at the age of 15, fixing swatch cards together. Since then, Belinda has been designing & creating tech packs for more than a decade... for household name brands and independent designers alike.