How to Fill in a Tech Pack Template (Step-by-Step)
Time to read: 16 minutes
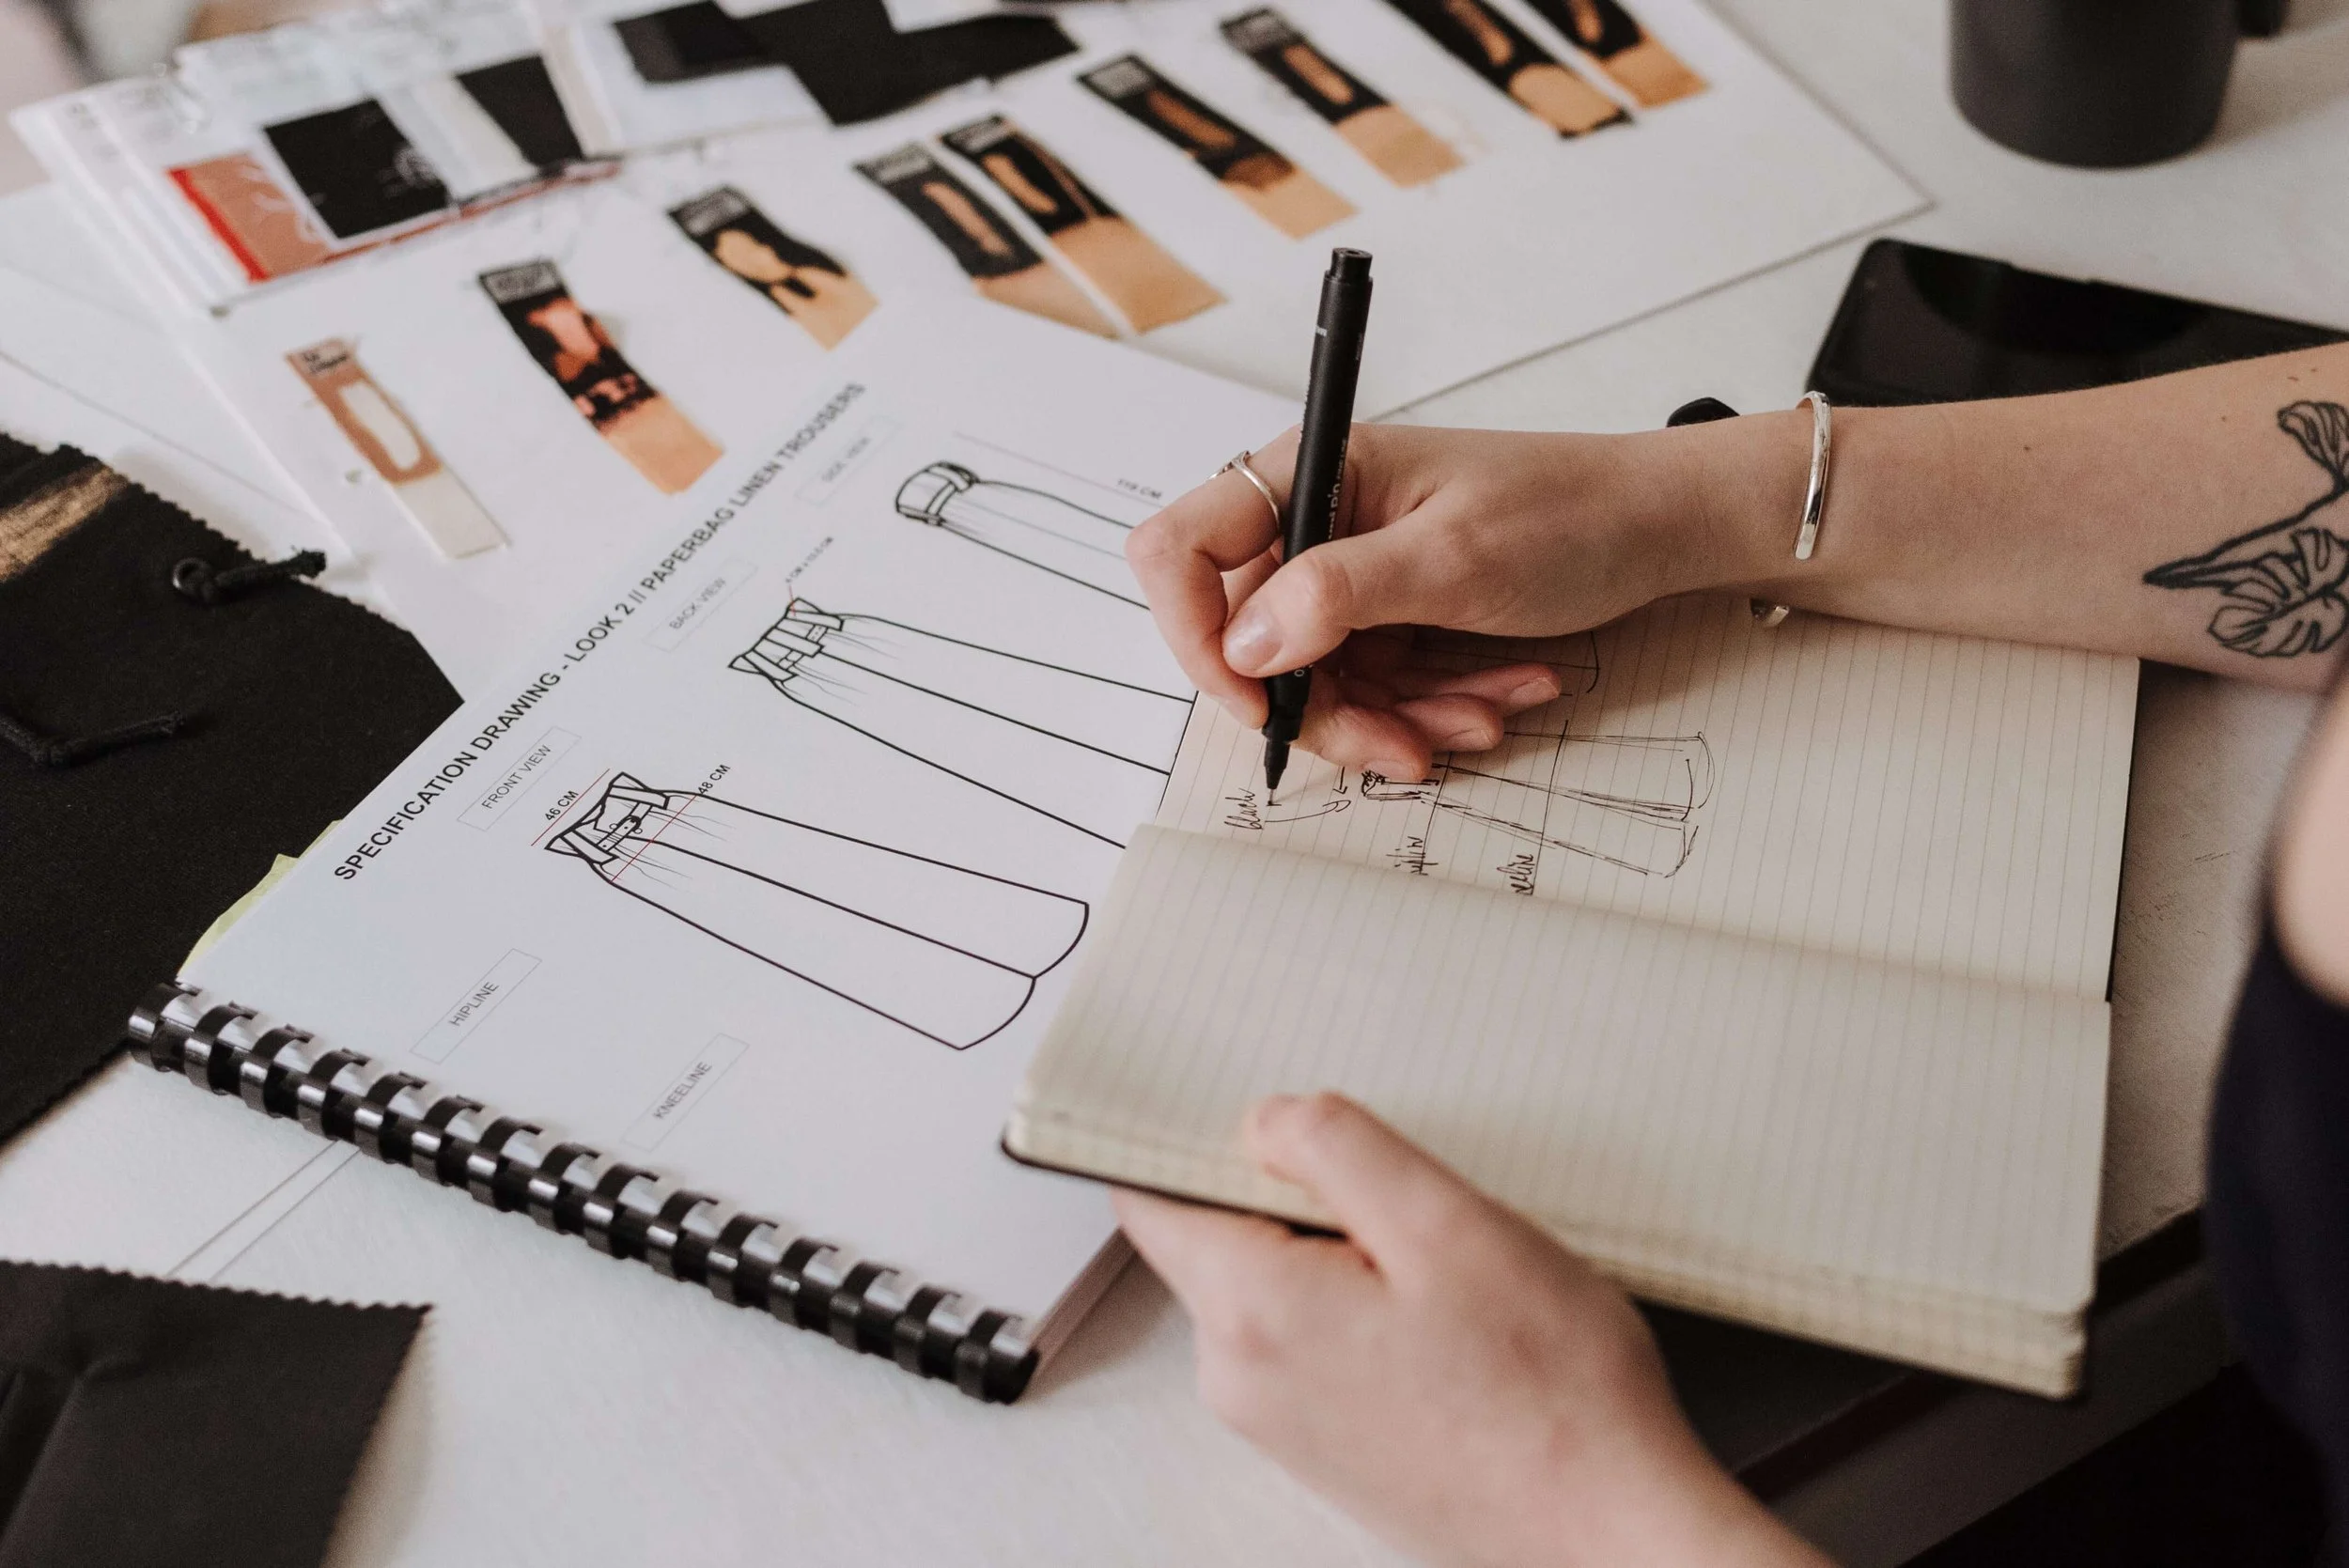
Ivan Samkov, Pexels
Tech Pack Template? What on Earth?
Are you ready to dive into the nitty-gritty of fashion production and bring your brilliant designs to life? Well, you're in the right place because today, we're going to talk all about how to fill in a tech pack template.
Now, I know what you're thinking—"Tech pack? Is that some kind of fancy gadget for fashionistas?" Nope, not at all! A Tech Pack is your trusty sidekick in the fashion design process, helping you communicate your vision to manufacturers, ensuring your creations turn out just the way you imagined. So, grab your coffee (or a sketchbook), and let's get started on the exact steps for how to fill in a tech pack template.
Before we jump into the "how," let's quickly cover the "what." A Tech Pack is like the blueprint of your design. It's a detailed document that contains all the information needed to turn your design concept into a real, wearable piece. Think of it as your design recipe!
So Why Use a Tech Pack?
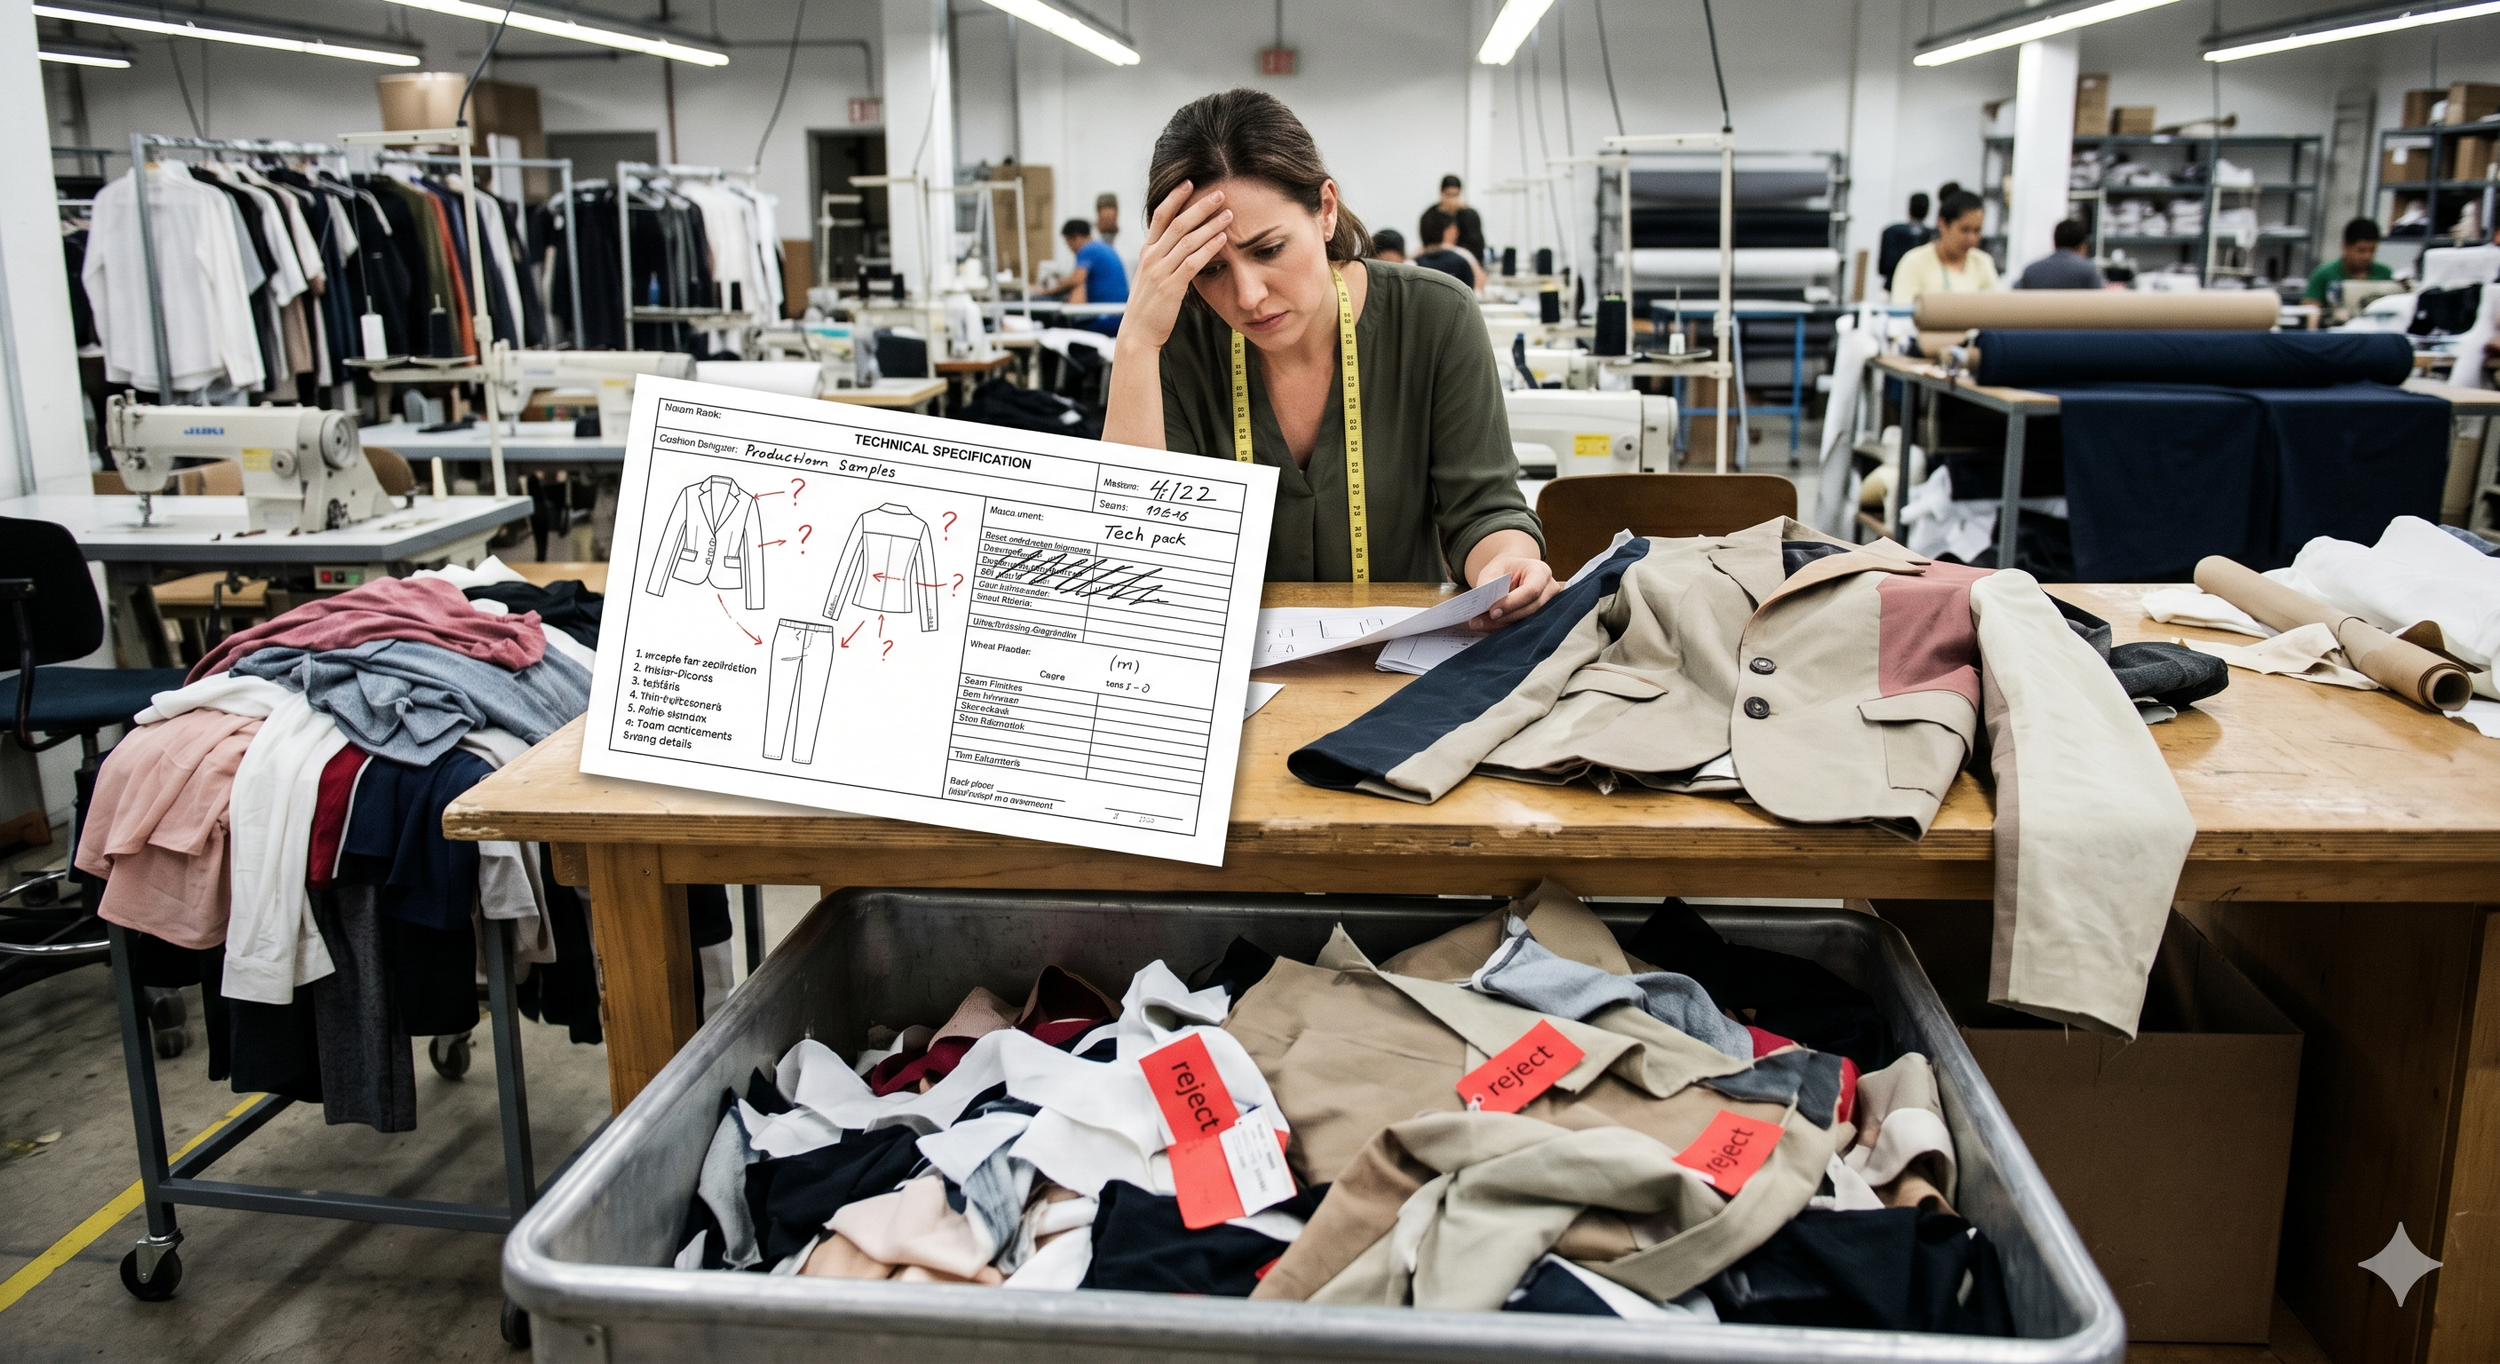
Sure, you could jot down your ideas on a napkin, but that might lead to some interesting interpretations by manufacturers!
“A Tech Pack ensures that everyone involved in the production process is on the same page. It helps you communicate crucial details like fabric choices, measurements, stitching techniques, and even that little button that makes your design pop!”
First things first, you'll need a Tech Pack Template if you want speedy results… Here's ours if you don’t have to experiment with creating your own.

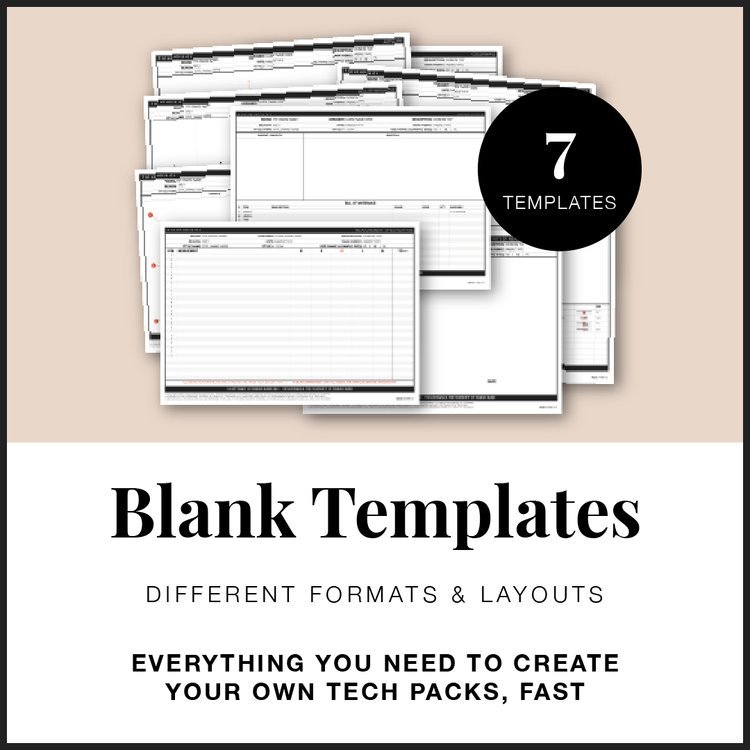
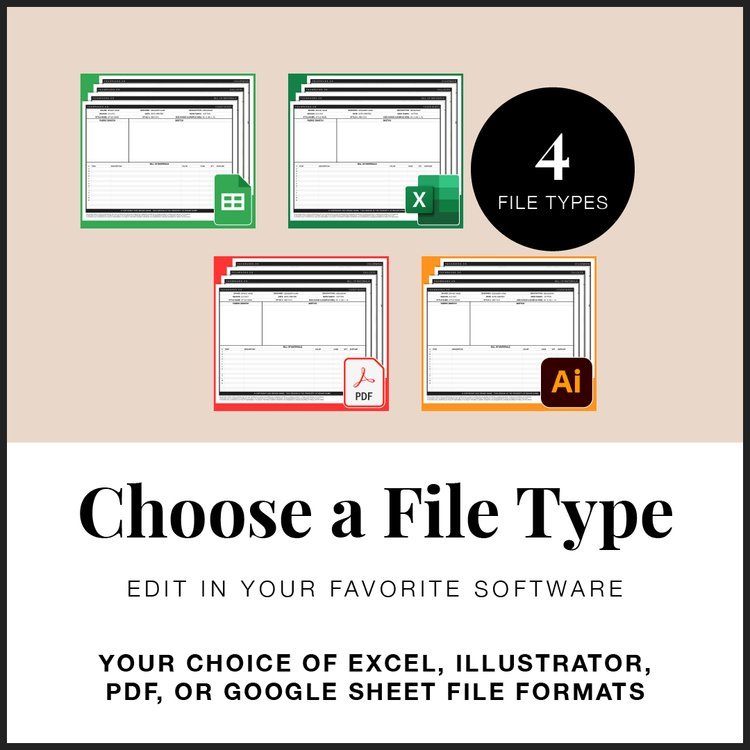

You can also create your own in software like Adobe Illustrator or even just a simple spreadsheet program. But you’ll want to make sure you follow an easy to read, logical, and image based format… To ensure the many stakeholders involved will be able to understand it, whether English is their first language or not.
The Basics: Pre-Work for How to Fill in a Tech Pack Template
There are three must-haves you should have sorted before diving headfirst into that tech pack template.
1. Design Sketch
First things first, what's your design all about? Even if it's just a messy scribble on a napkin, that's a great start. It’s impossible to create a consistent tech pack without a finished design.
Anete Lusina, Pexels
Even if it’s not in the form of a technical drawing, you’ll at least want something visual. So you have a concrete idea of what all aspects of your design will look like. If needed, you can create the “flat sketches” later once the tech pack is written.
2. Fabric
Your choice of fabric is a game-changer. It's like picking the flavour for your ice cream sundae; it's got to be just right. It’s not an afterthought, it’s the reason you went to the ice cream shop in the first place.
The type of fabric sets the tone for how your product will look, feel, and wear. And guess what? You should make this call even before you've got the rest of the details locked in.

Willow Fabric Recommendations, Grainline Studio
The decisions you make throughout the rest of the tech pack will be based on what fabric has been chosen. Certain materials have different stitches and seams that suit them best. Plus, your design will drape and fit differently depending on the fabric chosen… so don’t make a huge change halfway through unless you’re prepared to re-work large parts of your tech pack and samples.
3. Fit Sample / Reference Sample
Now, this one's hands-on. You need something physical that matches your design's size and shape. It could be a custom-made sample or something you picked up from a store that you’ve cut/taped/pinned to get close enough. Oh, and it should be in a fabric similar to your design.
Why? Well, we're going to use it to work out measurements for all the sizes your product will come in. Ideally, your sample should be right in the middle of your size range. So if you're doing XS, S, M (for example), aim for something that's a Small-sized twin.
“Be warned: If you proceed without one and just put measurements pulled from thin air into the tech pack... Your first sewn sample after the tech pack is complete is going to be an experiment to say the least!”
If you need more help with the research and design phase, including other pre-development details like costing, product-market fit and planning a collection. Check out our mini course - Design your First Fashion Product.
Top Tips for Your Approach
Bear with me here, and imagine an alien… They’ve landed on planet Earth, unaware of cultural histories or current/past trends and with a completely different background and worldview. They get a job at a sewing factory so they can get paid for food and shelter.
The people sewing your products don’t likely have a similar background to you, not the same education, and potentially English isn’t their first language or perhaps in their vocabulary at all.
When learning how to fill in a tech pack template, it’s practically unfair to leave any details out or even leave translation wiggle room. You’re making it much more difficult for the people to get their jobs done and are wasting everybody's time. Most sewers or factories have many brands as clients and have many plates to spin. Make their lives easy, then reap the rewards when you become their favorite client.
“Be crystal clear, stay super organised and always use images and diagrams where possible. ”
The second top tip, is to know that it’s not one and done! Aim to get your first draft 90% there. If you’re first sample is almost there and just needs a few tweaks, you’re winning!
“Your tech pack will prevent you from getting in a pickle, but there is still a trial and error process to be done. It’s a tool, not a magic potion.”
Don’t have the expectation that learning how to fill in a tech pack template perfectly means you can go straight to production with no sampling process. That’s not realistic.
Let's Break Down How to Fill in a Tech Pack Template, Shall We?
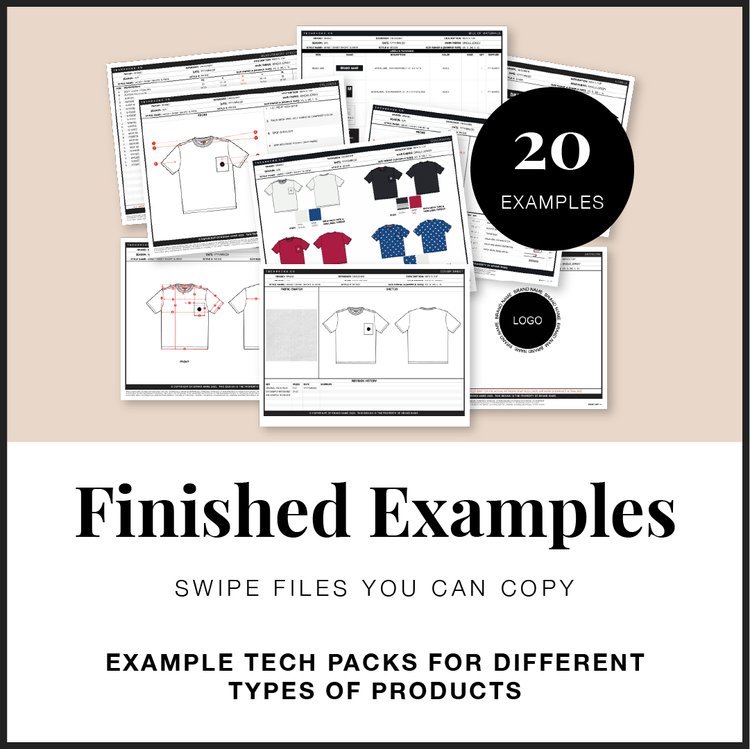
Now, let's break down the sections of a typical Tech Pack Template and see what goes where:
The first section in your tech pack is just a summary. Here we add a small preview sketch, plus filling in the summary at the top.
Construction
Those of you who already have a tech pack template, you might be a bit confused here. This section isn’t normally placed right at the beginning of a tech pack!
Confusingly, it’s in the middle of our template… but we recommend completing this section first…
Once you have a technical sketch, you’re going to want to write out the construction details to make sure the concept in your head can actually be sewn. Before you invest the time completing every other page (trust us—20 years of practice)!
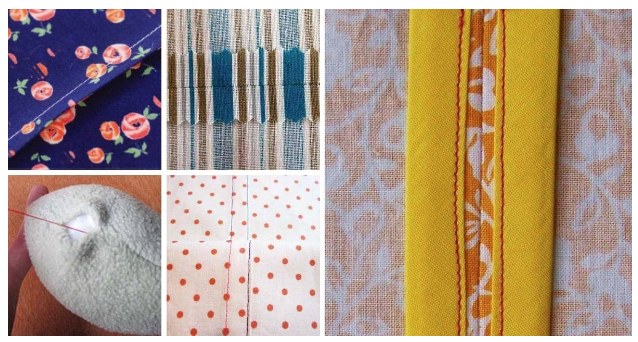
The construction sheet is where you dish out all the nitty-gritty about seam joins and hems. Tell your factory how wide the seams should be, which stitch type to use, how many stitches per inch, and what thread type and color to use.
But remember, a picture speaks a thousand words. Show those seam formations and stitch types with diagrams and actual stitch photos for the win.
Measure Twice, Spec Once
Imagine you're creating a button-down shirt. You've got to measure it all: collar circumference, sleeve length, the works.
And don't just stick to one size; provide measurements for all sizes you're offering. We're talking small, medium, large, and beyond! It’s called grading, and it helps ensure a perfect fit for all. If you're feeling adventurous, you can try your hand at grading (adjusting measurements for different sizes), but for best results, enlist the help of a professional.
Our tech pack template has an extra guide book just for grading instructions. With a handy spreadsheet listing hundreds of graded points of measure for you to copy.
But wait, there's more! Draw those measurements out and add arrows to make things crystal clear. Remove the ambiguity from where and how you take each measurement with our classic advice… turn it into a diagram.

An example measurement specification from a tech pack
Just like the construction sheet above, this section isn’t necessarily located at the beginning of your tech pack. But skip ahead and complete this now! Just like before, you want to make sure the dimensions are listed ASAP to validate your design concept.
Making sure all the dimensions work is probably the most crucial part of figuring out how to fill in a tech pack template. You might need to tweak your sketches too to keep them proportional to the measurements.
P.S. If you need something to use for taking measurements, we recommend mea
suring tapes made from fiberglass don’t stretch out over time.
Bill of Materials (The Treasure Map!)
Picture this: you're about to create a new clothing masterpiece, and you need to gather all your materials. Well, the bill of materials, affectionately named the BOM, is your treasure map. It lists everything you need, from the main fabric to trims, threads, buttons, and every little doodad that goes into your creation.
Each material added needs detailed information: what’s the construction, type, composition, weight, thickness, and color?
If you’re doing your own materials sourcing (instead of the person/company who’s sewing), you’ll need to add where each item is bought from as well.
Callouts
Now, here's where you bring out your fashion flats and add those text callouts. Think of it as your way of pointing out all the cool stuff in your design. Want to highlight those unique hem vents or sleeve cuts? This is your moment to shine.
Add numbered text descriptions to correspond with numbered arrows on your sketch.
We like to break down the product or garment into front, back, and/or side; bottom; top; and inside views, each with their own callouts page. Leave enough room so you can add a nice, large sketch and still have room for the arrows without it looking too cluttered.
Colours, Pattern, Print & Decorations
Color lovers, this one's for you! In the Colorways sheet, here’s where you’ll show the colour variations your product comes in. Make sure your tech pack specifies which trim and accessory colours go with each product colour.
New brands definitely keep it simple here; don’t add too many product variants—stay lean! But when you’re ready, learn how to pick a palette and balance your colours here.
Pantone is the standard way to provide your contractors and suppliers with colour references. Here’s the entry-level Pantone swatch book if you’re just starting out.
If your creation includes patterns, graphics, or prints, this is where you share your artistic vision. Explain your printing or surface decoration technique, add dimensions for your artwork, and let them know exactly where it should go.

Ron Lach, Pexels
Labels, Tags & Packaging
On your sketches mark where each label should go. These could be brand labels, size labels, or care labels. You’ll want to show a brand label (typically located) at the back neck or back waist. Often size information is shown on this label or on another label located close by.
Care labels are legally required in most places for most types of garments. Don't forget the essential info: brand name, country of origin, fiber composition, and washing instructions with symbols.
Last but not least, it's time to talk packaging. Describe how to fold your garment, and be sure to include handy diagrams. As well as the packaging itself, add any details or any other paper hang tags or stickers that are added to the packaging.
Don't skimp on the details! Include info about brand name or graphic placements, colors, and dimensions. Specify materials, join instructions, and all measurements.
There you have it, folks – tech pack templates for fashion decoded! Remember, these sections are like puzzle pieces that come together to create your masterpiece. So, go forth, be creative, and let your fashion dreams run wild!


Author Bio
Tech Packs Co founder Belinda is a technical fashion designer from London, now based in Los Angeles. Belinda had her first job in fashion at the age of 15, fixing swatch cards together. Since then, Belinda has been designing & creating tech packs for more than a decade... for household name brands and independent designers alike.